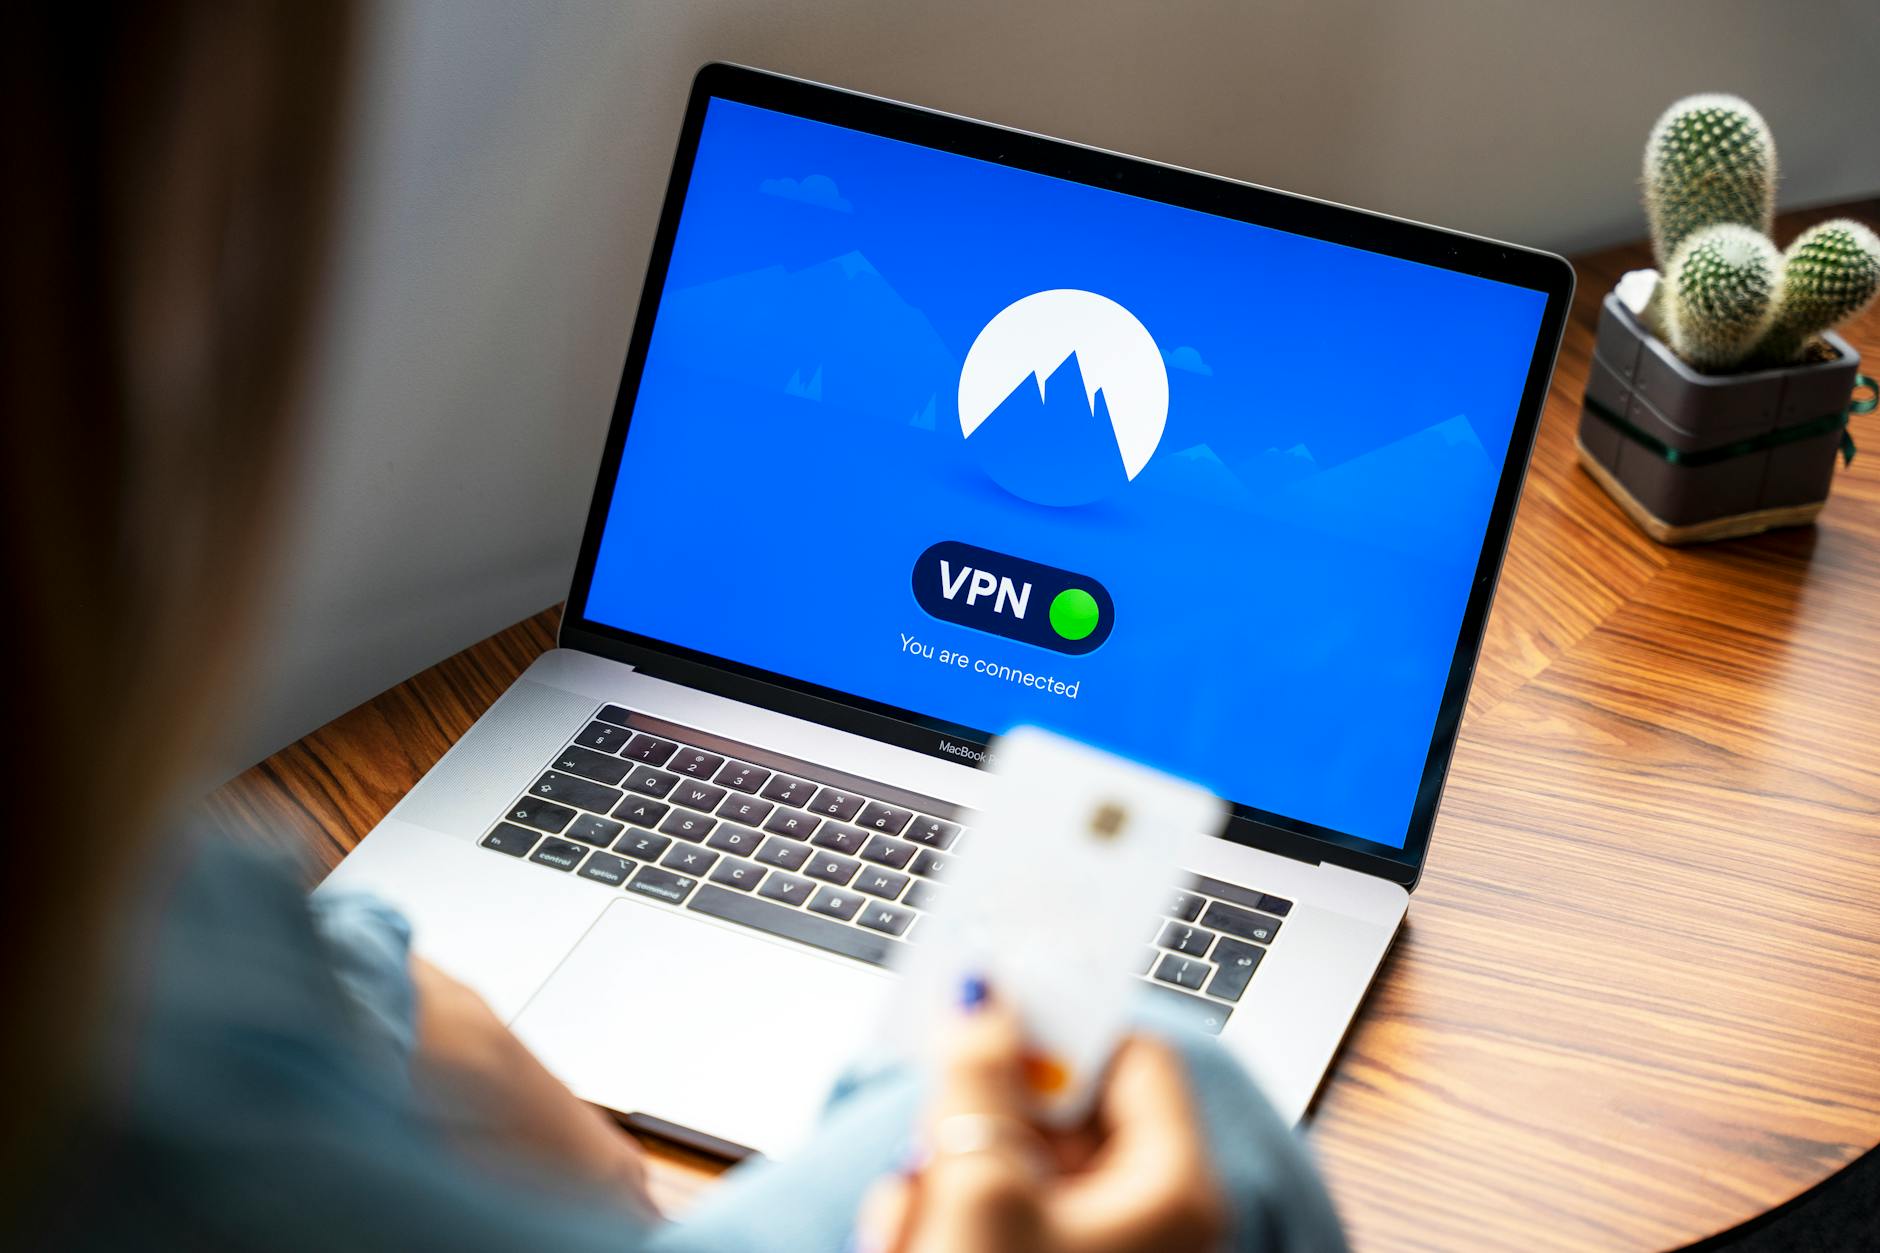
Well, we’ve had two cases where we want to access our Unifi network at home. In one case to get a Time Machine backup finished and also to access the home servers. The documentation is just terrible, so here’s a quick guide as of October 2, 2025
Teleport: Load WifiMan then login
Teleport. This is their one-stop shop for getting access. The problem is that I couldn’t get it to work well over cellular, but it did work well in the Wifi. The basic idea is pretty simple: you download the “Wifiman Desktop for Mac” from the Mac App Store, and then when you go to the Teleport tab, if you log in with your Unifi Admin credentials, it should just work. You don’t need to do any setup. The problem is that it shows connected, but it doesn’t seem to work at all. You get connected, but the traffic doesn’t seem to route correctly. If you want to know what my IP is, it shows the correct “home” IP address, so that is working.
Wireguard: Installation and more configuration, but it works
Wireguard. You can also do this manually, since Teleport uses Wireguard underneath. There are three hard-to-figure-out steps. First, log in to the Unifi.ui.com and go to Settings > VPN > Create New and create a new WireGuard VPN. Then, here is the tricky part: you go down to the “Client” Section and click on Add New. Every client should have its own keys. Then, if you have your phone there, it displays a QR code, and you can configure the WireGuard client. For the Mac and iPhone, the WireGuard client is in the App Store, and you can also upload a .conf file, and it will set things up with a full VPN. This actually works.
Browsing in your internal network does not work use IP Addresses
One confusing thing is that you will not see DNS names nicely in the Finder; that’s because Bonjour and other messages are not broadcast to the VPN network. For instance, if 10.0.1.x is your home network (also known as 10.0.1.0/24, which means the last 8 bits are available. This is the ‘mask’ idea, the smaller the number, the bigger the allowed range, so 0.0.0.0/0 means anything, and 10.0.1.2/32 means it will only go to that specific IP address.
Using Afraid Dynamic DNS
Instead, you have to know the exact IP address of your servers, and then in Finder, you can choose Go > Server > “10.0.1.3” or whatever the IP address is, and then it will connect you. Also, note that the default is to use the hard IP address of your home, but if you are a residential customer, you might instead use a Dynamic DNS hostname. If you go to Afraid, you can create a free account, then enter that into the Settings > Internet > WAN > Dynamic DNS section, and you can use a regular DNS name, which should be more stable.
Split Tunneling is a trick
The default in WireGuard is “0.0.0.0/0” from Unifi, so it is routing all the traffic through your VPN. If you want to do split tunnely, so that, for instance, if you only want “10.0.0.0/16” to route, that i,s only addresses that are 10.0.*.,* then you have to go to the WireGuard client and choose edit and change “0.0.0.0/0” in the Allowed IP to one of these values
Specific domain routing
OK, suppose for instance, you want all the traffic from say “Amazon” to go through your VPN and the non-Amazon stuff not to, then this is harder. This is called domain-specific routing. You basically have to in the Wireguard somewhere say how this works, but it is only for IP addresses. To make the routing work correctly, it looks like you need some sort of policy-based routing in the Unifi, I think, but I’m not clear exactly how to do this
Other Options: NordVPN MeshNet or Tailscale with a dedicated PC at home
So there are some other options. Such as NordVPN, but you have to run a machine in your home using MeshNet. Tailscale is the same way. And I’ve had trouble getting the exit node stuff running right.


Leave a Reply
Only people in my network can comment.